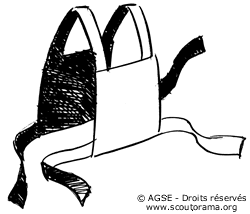
What you need
- A piece of fabric (single colour) of about 4’ x 20".
- scissors, thread, a sewing needle, pins and a tape measure.
- iron-on adhesive patches (white or with troop colours)
- A sewing machine and the help of a grown-up.
- Velcro round or square patches
Making a vest
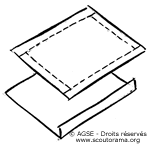
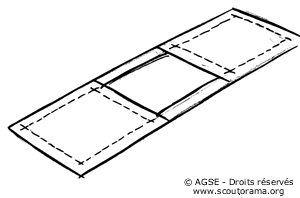
1. Cut two squares of 10x10" in the fabric. Hem on all four sides folding 1/3" of fabric and another 1/3" (double hem)
Sew the hemline with the machine.
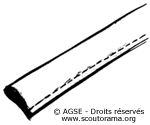
2. Cut 2 bands of 16.5x2", fold them in the middle and sew 0.2" from the side.
Turn the bands inside out and iron.
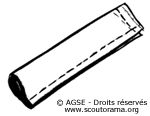
3. Cut 4 bands of 8.5x2", fold them in the middle and sew 0.2" from the side and on the small side.
Turn the bands inside out and iron.
4. Sew the two biggest bands at the top of the two squares, 0.8" from the sides so that they be linked together.
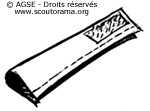 5. Sew at each closed end of the small bands a patch of velcro so that they be linked two by two.
6. Sew the four small bands on the sides of each square so as to maintain the vest close to the body when worn .
7. Cut a big number in the iron-on adhesive patch (about 4x4.7") and iron it on the back of the vest following the instructions given for the iron-on patch.
Cut out a small number and fix it on the front of the vest.
